Skip to product information
1 of 4

NEW! Wood Burned

NEW! Wood Burned

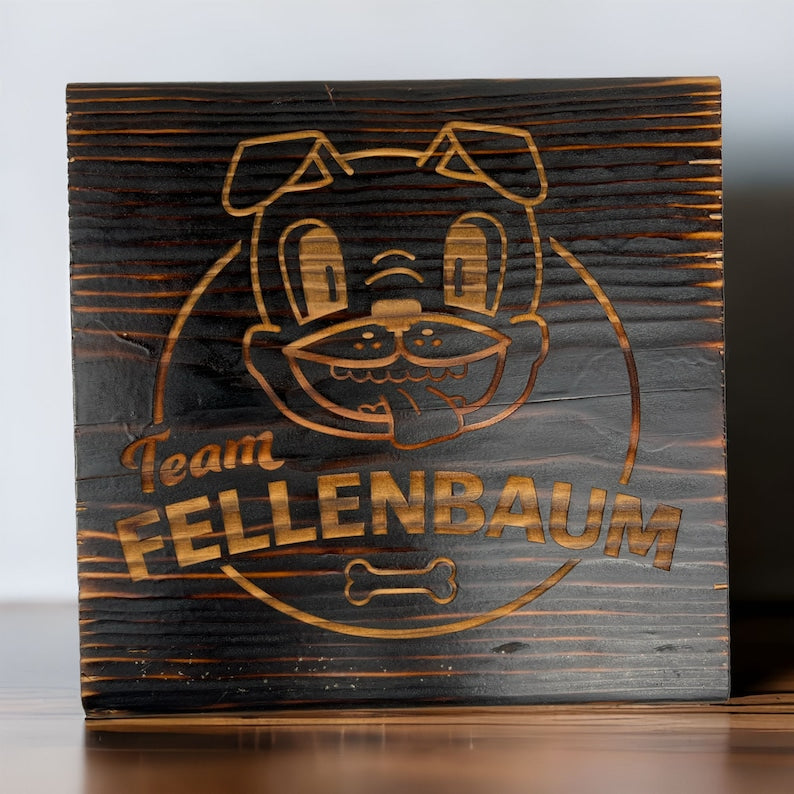
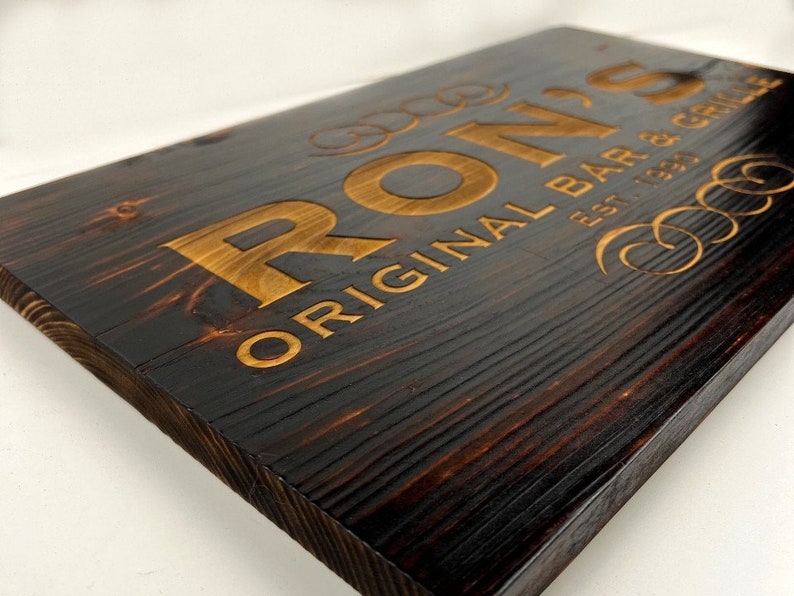
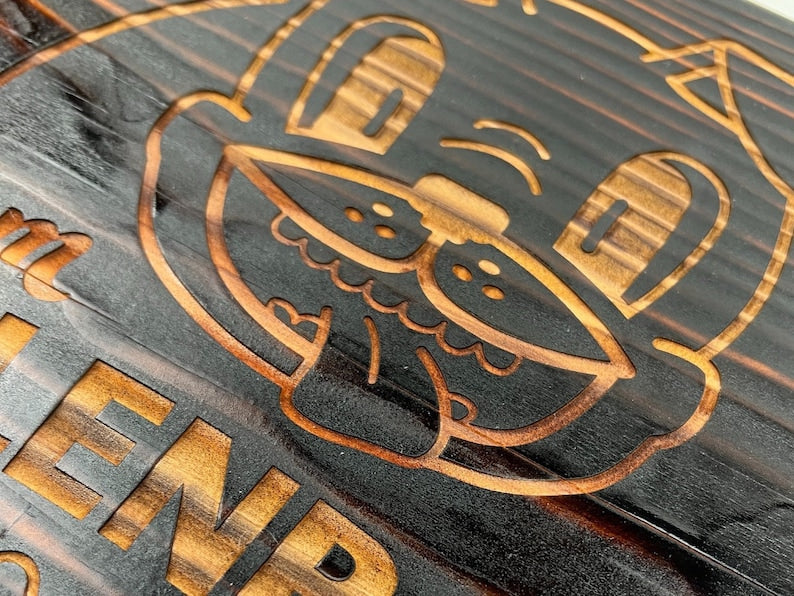
Completely customized, burned with a literal torch then laser engraved and weatherproofed finish - logo sign! Turn your digital logo design into a beautiful, custom sign. The base layer of this burned wood sign is made out of 1" Pine showing full spectacular wood grain, laser engraved, then weatherproofed for indoor or outdoor use. Your logo will pop with a spectacular color contrast. Even small details in your logo will stand out!

For exterior or interior use. 

Regular price $119.00 USD
Regular price Sale price $119.00 USD
Sale Sold out
Shipping calculated at checkout.

How To Order

We offer 1-on-1 personalized experiences to all of our clients. To begin the ordering process:

1. Select your size, color, and hardware customizations from the menu above. Not 100% sure what you like? Start with your favorite options for now.

2. Upload your logo or graphic (if you have one). Vector files (.ai .eps .pdf .svg) are preferred. We can also work with a different file type with high resolution

3. Once you have placed your order, one of our customer experience specialists will reach out to you via email within 1-2 business days to answer and questions and finalize details.


4. Then, we will create a digital proof of your sign for review. If you were unsure about any of your customization options at checkout, this is the time where you can adjust, compare, and make your final decision. We will not laser cut anything until the design is approved.

Materials

1" pinewood.

Please note, this product is intended to show the natural grain of the wood. Knots in the wood and other organic occurrences may be visible and add to each sign's unique character.

Mounting Instructions

2 - 3 sawtooth hangers are included with every order to easily and accurately mount your sign.

1. On the back of your sign, measure a horizontal line ¼ of the way down from the top of the sign. Use a t-square or level to ensure that the line is straight. Along this line, mark the center point and 6 inches from each side.

2. Position your sawtooth hangers evenly along this horizontal line. If you have two sawtooth hangers, lay them at the 6-inch point from each side. If you have three hangers, position the remaining hanger directly in the center of line. The sawtooth hardware has a mark in the very center to make it easier to line it up on the back of the frame.

3. When the sawtooth hangers are lined in place, mark the screw holes with a pencil. Then, take the screw line it up with the mark you just made, and gently screw it into place. Try to screw it in as straight as you can.

4. Hold the sign up to the wall, and mark where you want the top of it to rest with pencil or painter's tape. Try to make the mark in the center if you can.

5. Measure down ¼ way down from this point to mark where the sawtooth hangers will line up. Use a level to draw a straight horizontal line. Once again, along this line, mark the center point (if you have three hangers) and 6 inches from each side.

6. Just below the marked lines, hammer a nail down into the wall at a 45-degree angle to provide the most support.


7. Position the sawtooth hanger across from the nail and slowly lower it into place until you feel it snag on the nail. Use a level to confirm it is straight. You may need to shift the sign slightly along the teeth until it’s in the position that you want it.

View full details